Making pear wine doesn’t have to be complicated. You only need a few simple ingredients to make good pear wine. After the wine ferments, you can let it age for several more months, or you can enjoy it immediately.
Here’s how to make pear wine at home the easy way:
- Gather your ingredients.
- Ripen your pears.
- Collect and sanitize your containers.
- Boil your raisins and cut the pears.
- Add the raisins and sugar.
- Add boiling water and spices.
- Add the yeast and store the mixture.
- Strain the wine mixture.
- Rack your wine.
Pear wine is an easy way to put pears that don’t sell or that fall prematurely to use. The pear wine recipe and process is relatively simple, and it won’t take you very long. Homemade wine from pears is a light and refreshing drink that is a great addition to any meal.
1. Gather Your Ingredients
You’ll only need a few ingredients to make pear wine the easy way. Gather the following:
- 6 to 7 pounds (2.72 to 3.18 kg) of pears
- 1 pound (0.45 kg) of raisins
- 1 pint (0.47 L) of boiling water
- 1 1/4 gallon (5.68 L) of boiling water
- 1 packet of bread or wine yeast
- 2 pounds (0.91 kg) of sugar
- 1 teaspoon (2.64 g) ground cinnamon
- ½ teaspoon (1.1 g) ground cloves
- ½ teaspoon (1.9 g) ground allspice
- ½ teaspoon (2.2 g) ground nutmeg
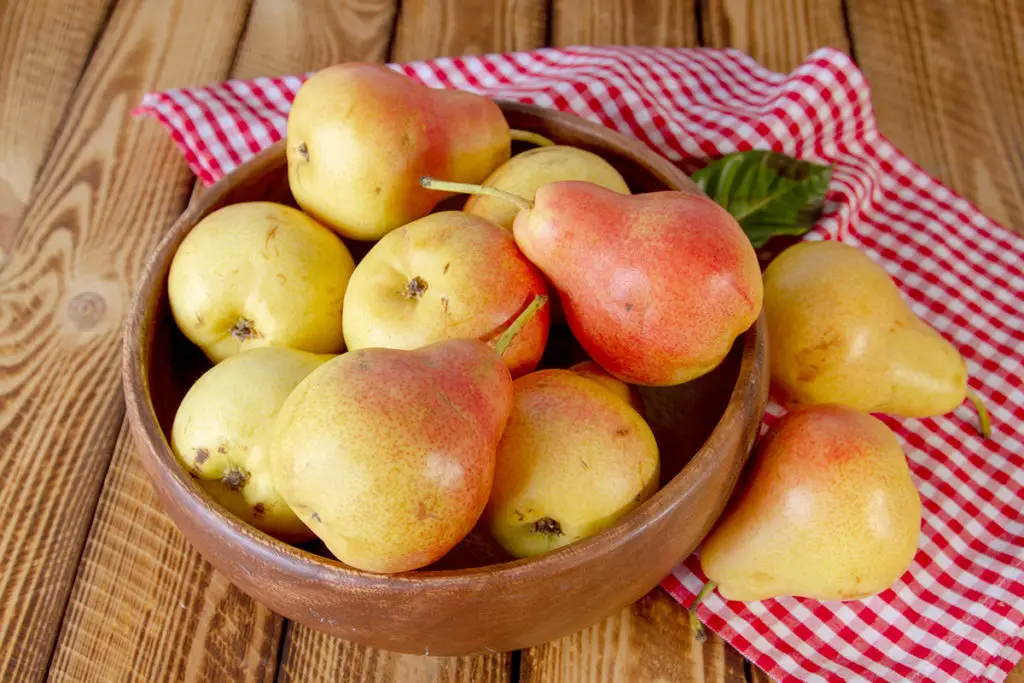
2. Ripen Your Pears
Gather about six to seven pounds (2.72 to 3.18 kg) of fresh pears, or you can use the fruit that has fallen from your pear tree or get a deal on those that won’t sell at your local produce store. Try to get the pears as ripe and as soft as possible before they start to go bad.
The pear should be mature enough to pull the stem out. If you can’t remove the stem, wait a few more days for the pears to ripen.
Gold Medal Wine Club - Boutique, award-winning wines delivered monthly! → Choose Your Wines
The softer the pears, the better, because they have a richer taste, and the pear juice, is sweeter. If you make pear cider with pears that haven’t ripened enough, it’ll taste more like apples.
If starting to get overripe pears, then you can put them in a sulfite solution to keep them from turning sour. Put in whatever pears have fully ripened to keep them from rotting while you wait for the rest of your pears to get ripe.
3. Collect and Sanitize Your Containers
You’ll need a large, sturdy container to make your pear wine. Crocks are your best option for fermenting your wine, and you can purchase them at a home brewing store or your local hardware store. If you don’t have one, then you can use another type of container that’s safe for storing food.
Be sure to use a large container to hold the foam that’ll appear during fermentation. A two-gallon-sized (7.57 L) container is an ideal size to use as a primary fermenter.
You can use glass jars, plastic containers, jugs, bottles, or buckets as long as it has an air-tight lid. Ensure your container is sturdy enough to handle boiling water that you’ll pour in it. Avoid using aluminum or another type of reactive material.
Regardless of your container choice, make sure to clean and sterilize it thoroughly. To sterilize glass containers and their lids, boil them in water for a minimum of five minutes (poached pears). Boiling the containers will remove any germs and bacteria from them.
4. Boil Your Raisins and Cut the Pears
Place a pound of raisins in a pint of water. Bring the raisins to a boil for around five minutes.
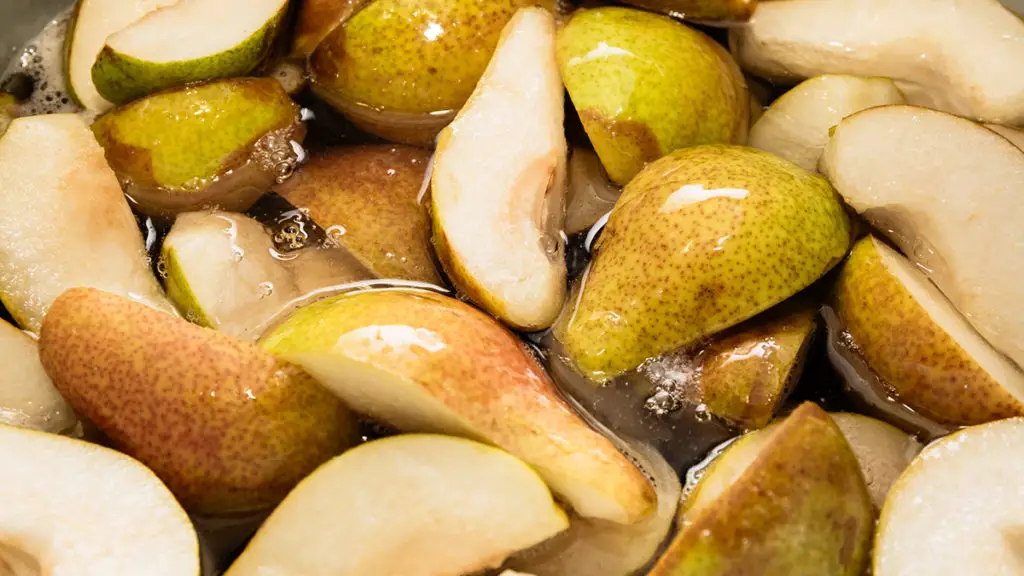
While the raisins are boiling, wash your pears and then cut them. You can leave the skin on, but be sure to remove the seeds because it’ll give your wine an odd flavor if you don’t. Cut off any parts that are brown and soft. Cut the pairs into manageable chunks.
You can choose to mash your pears now, using a potato masher or by hand. Or you can leave the pears in chunks and separate them later after fermentation.
If you choose to leave the pears in chunks, then you can cut them into bigger portions if you’re using a large container. But if your container is small, then you’ll need to chop them into smaller parts. Once you finish, put the pear chunks or mush in your container.
5. Add the Raisins, Sugar, Boiling Water, and Spices
Put the sugar over the top of the pears, then add in the raisins. Raisins have essential nutrients on which the yeast will feed.
Add the spices to your pear, raisin, and sugar mixture. These spices will enhance the pears’ natural flavor and result in a richer taste.
Next, pour boiling water on top of the mix. Fill the container close to the top with the water, but leave enough room for the foam to rise while it ferments. Boiling water is good to use because it will kill any bacteria in the containers or food.
Next, stir the ingredients until the sugar has completely dissolved. Place the lid on your container and shake it vigorously. After you shake the mixture, remove the top so that the pressure doesn’t build up and explode. Cover the mix again and allow it to cool overnight.
6. Add the Yeast and Store the Mixture
Once the mixture has cooled overnight, add the yeast nutrient. Using wine yeast will yield better tasting wine, but bread yeast will also work.
Softly stir in the yeast and cover your container with the lid. Keep an eye on your wine to make sure it’s fermenting. Within several hours of adding the yeast, bubbles should start to rise to the top of your container. The rising bubbles mean that the wine is fermenting.
After you stir in the yeast, secure your wine in a warm or room temperature place. Let it sit for three weeks. Three weeks is the initial fermentation stage. You can choose to stir your mixture every day, or you can let it sit. Use an air-tight container so that you don’t attract bugs like fruit flies.
7. Strain the Wine Mixture
If you left your pears in chunks, now is the time to get all the solids out. After the wine has sat for several weeks, separate the solid pieces from the wine portion.
The easiest way to divide the mixture is using a siphon. Pour the mixture into the tube, and you’ll have the liquid in one container and the solid pear chunks in another. You can purchase a siphon at your local hardware or fishing store.
Another way to separate the mixture is by straining it. Strain it first using a screen filter, and another time using a cloth to ensure that you don’t get any solids in your wine. Be careful when straining your wine, though. If you’re too rough, you can let too much air into your wine, which will negatively affect the taste.
If you mashed your pears earlier, you still need to strain them, but the process won’t be as strenuous. Strain the mixture through a jelly strainer or something similar, and then put the liquid back in your container. Let the wine ferment for two to three more weeks.
8. Second Stage of Fermentation
After the second round of fermentation, you’ll need to strain the wine again. Strain the wine through a cheesecloth or something similar like a flour sack kitchen towel. You want the wine to be as transparent as possible with no solid pieces left.
You can use a siphon for this step as well. Put the clear wine in its container and put wine that has any pear pulp in a separate container. Let both sit for two or three days.
Repeat the straining process with the mushy wine until you extract as much of the clear wine as possible. Put all the clear wine in one container and allow it to settle for a day or so.
9. Rack Your Wine
After the wine has settled, you can begin the bottling process. The wine may smell potent when you open it, but this is normal.
However, if the wine smells foul or a lot like vinegar, it has gone bad, and you shouldn’t drink it. If it has a slight odor, you shouldn’t be too worried.
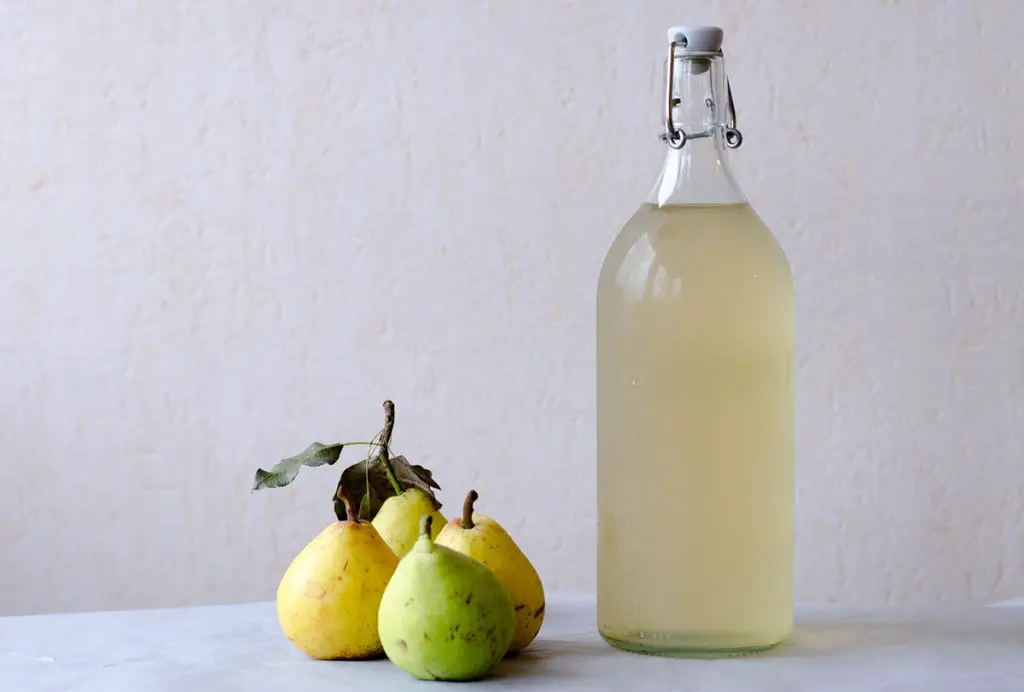
After the wine has settled, you can choose to drink it immediately, or you can let it age for a while to gain a more robust flavor.
If you decide to let your wine age, you can bottle it or store it in a carboy, also known as a demijohn. A carboy is a large container with a narrow bottleneck used for storing liquids.
Using a carboy is an excellent way to ensure that you use as much clear wine as possible because the wine will go through another filtering process.
To use a carboy, you’ll need a siphon. Pour the wine into the carboy using the siphon. Be sure not to put the siphon hose on the bottom of your wine container so that you don’t get any mush or food pieces in it. Using the siphon method will result in a more transparent liquid.
If you choose to bottle the pear wine, keep in mind that there might still be some active yeast in the wine. To let any gas escape, put balloons over the openings of the bottles so that they don’t explode.
After the balloons finish inflating, you can put a cork in the wine bottle and store it in a cool, dark area. Let them age for six to twelve months before enjoying it.
Final Thoughts
You don’t have to be a home brewing expert to begin making homemade pear wine. All you need is a few ingredients and food-safe containers to store the fruit wine.
After fermentation, you can enjoy it immediately, or you can let it age for several more months for optimal flavor.