Making mead is a meticulously methodical process, which is why the end product is so rewarding. If you don’t err on any of the technicalities, your mead will be delicious and often better than you even expected. Once your mead is finished, however, you may want to know how to bottle it?
Here are the 3 easy steps necessary to bottle mead at home:
- First, check if your mead is ready for bottling.
- Then get the bottling essentials together and sanitize.
- Prepare the bottling setup and start to bottle.
Like brewing and winemaking, fermenting mead at home needs proper preparation, but you can bottle your very own if you follow the instructions. When you long to feel like a Viking and sip on your mjǫðr, here are the three steps in detail to bottling your own mead.
1. Check if Your Mead Is Ready for Bottling
You should bottle mead at home only after the fermentation process is complete. The typical bottles you may use to store mead are not made or intended to endure the increasing pressure of fermentation.
BEER DROP: Boxes of beer from Award-winning microbreweries → Join The Club
Hence, your mead bottle may burst if the beverage continues to ferment after you’ve bottled it. There are two surefire methods to check if your mead is ready for bottling.
The Airlock Bubbles Test
Observe the airlock atop the carboy. If there are no bubbles moving through the airlock, the mead has undergone complete fermentation. The presence of ongoing bubbles indicates that the mead is still fermenting.
Also, check if the mead is hazy or clear. Haziness doesn’t always indicate continuing fermentation, but the clarity implies that the mead is ready or almost done.
The Specific Gravity Test
Get a hydrometer to check for specific gravity. The specific gravity of fully fermented mead can be anywhere from 1.01 to 1.035, depending on the concoction. Dry mead is usually around 1.01 or lower.
Medium mead could be around 1.015 to 1.025. Sweet mead may be 1.020 to more than 1.030. The trick is to check if the specific gravity has dipped and stays stagnant.
Suppose your initial specific gravity reading was 1.03, and you may currently have 1.025. Generally, a drop of 0.005 implies the mead has fermented. However, this drop in specific gravity should remain stagnant at 1.025 for a few days to confirm that the fermentation is complete.
Recommended: How To Properly Pitch Yeast (Beer, Wine & Mead)
2. Get the Mead Bottling Essentials and Sanitize
You must have the minimum essentials to bottle mead at home to avoid a misadventure. Don’t handle mead like non-fermented beverages. For instance, you cannot allow your fermented mead to mix with a lot of air, be it before, during, or after bottling.
The entire process should be as isolated, waterproofed, and air-sealed as possible. Here are the essentials you need.
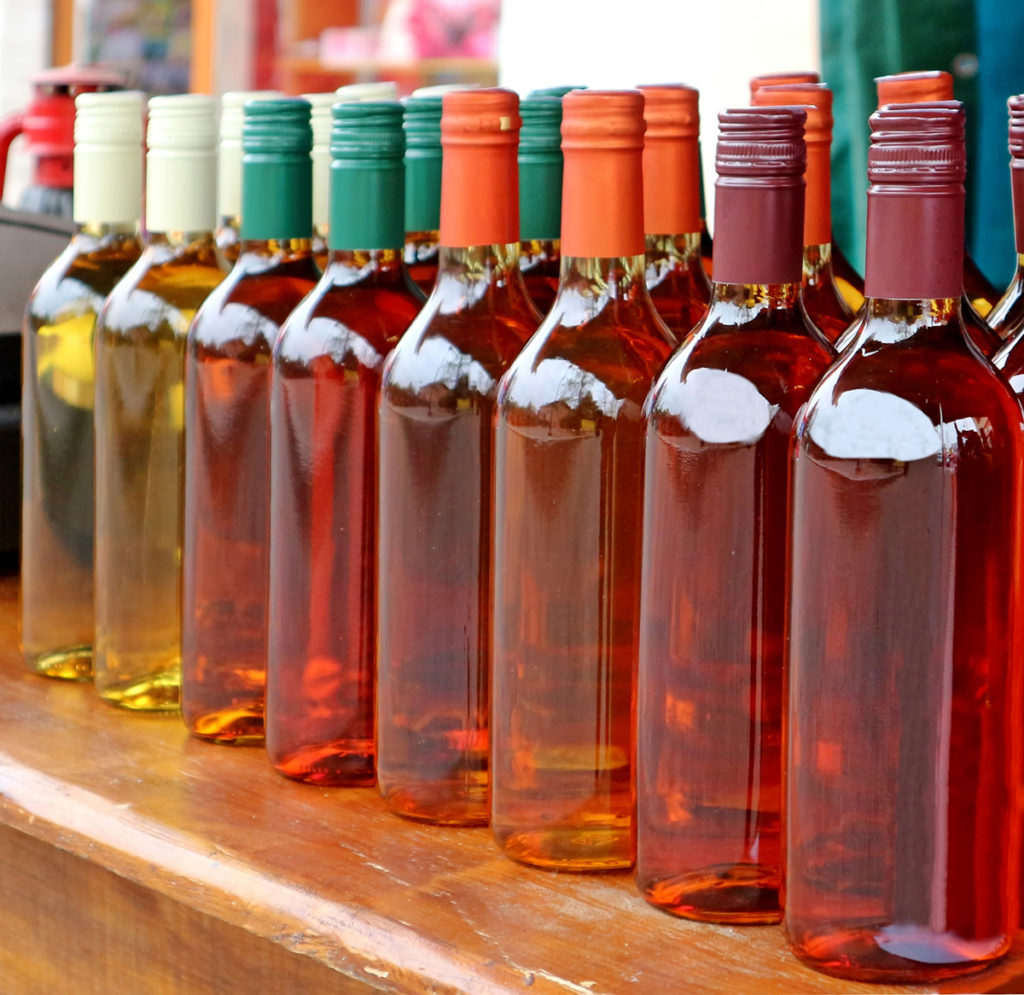
Suitable Bottles For Mead
You may use glass bottles with corks or screwable caps. Don’t use bottles that won’t hold an airtight seal. You may recycle beer or wine bottles, flute, or other styles, such as champagne bottles.

If you intend to bottle carbonated or sparkling mead, you need to use champagne bottles. The mead carbonation process inside a bottle involves continuing fermentation by adding honey. Hence, the typical beer and wine bottles are unsuitable as they may burst due to pressure.
Corker (if You Use Corks)
Get a corker if you use corks. A floor corker is better and much easier than those you have to hold and operate. Also, consider soaking the corks in hot water and steam for a minute or so to make them slightly soft.
Immensely hard corks are incredibly tough to insert in glass bottles. Bits and pieces of cork may break, fall inside a bottle, and float on your delicious mead.
A Raised Platform
You may use a sturdy, flat box as the raised platform. Many mead makers get a large and reliable bucket and turn it upside down. Also, you may use a steady tabletop for the carboy if you have a lower platform for the bottles. You should carefully sanitize your entire bottling area, so plan accordingly.
Auto-Siphon and Filler
You need an auto-siphon (Amazon) to bottle mead at home. Don’t use a ladle, funnel, pot, or anything that’s otherwise acceptable to prepare food. You cannot have air pockets inside the bottled mead.
Also, the mead should be handled in an isolated environment to keep all kinds of microbes away, especially bacteria that can ruin your creation.
You can also get an auto-filler (Amazon). While an auto-siphon should suffice, a filler simplifies the job further. You don’t have to pinch the auto-siphon to stop after a bottle is full so that you can get the second one in place.
The auto filler will pause the flow in the tube or hose, courtesy of its stopper, and you can put it into a new empty bottle for the tool to resume the mead flow.
Optional Essentials
You may use potassium sorbate to preserve mead and prevent excess fermentation. Some mead makers use honey to sweeten the beverage. However, exercise caution as adding honey after the mead is ready will restart the fermentation process.
Also, you may consider using potassium metabisulfite if you wish to sweeten the mead without another round of fermentation.
Sanitize Everything
Sanitize all the essential tools and the space where you plan to bottle mead at home. Potassium metabisulfite has a sanitizing effect. However, you should get a branded sanitizing agent, follow the instructions, and clean everything. No unsanitized tool or setting should be a part of bottling.
Recommended: How To Serve & Drink Mead The Right Way (Complete Guide)
3. Prepare the Bottling Setup and Begin Bottling Your Mead
Now that you have the essentials, here are the steps to bottle mead at home:
- Lay out all the essentials on a sanitized table or countertop.
- Place the mead carboy on a raised platform (upside turned bucket or what you have).
- Remove the airlock and insert the auto-siphon into the carboy.
- Don’t let the auto-siphon disturb the sediments at the base of your mead carboy.
- Plug the siphon tube into a hose and auto filler.
- Put the stopper-end of the auto filler into an empty, sanitized glass bottle.
- Initiate the auto-siphon and allow the mead to flow directly to the bottom of a bottle.
- Don’t pour mead into a bottle from the top or in any manner that aerates the beverage.
- Allow the mead to flow through the auto-filler stopper at the base of every bottle.
- A gradual flow starting at a bottle’s base and rising level avoid trapping air.
- Fill a bottle up to the neck, with a gap of an inch or two at the top, subject to cork or cap.
- Take the auto filler out, place it inside a new bottle, and cork or cap the previous one.
- Repeat this process until you have bottled all the liters or gallons of mead in the carboy.
Related: Honey Mead: What’s It Taste Like? (How To Drink It)
Bottling Mead – Conclusion
Always sanitize the space and everything you use while handling mead at any stage. Also, do not try untested tools and methods to bottle mead at home unless you are confident of what you plan to use.
You will have the technique down pat in no time and enjoy a fine jug of mead (even if you don’t have a Viking helmet handy!).