If you’ve ever read about the rumrunners or bootleggers of the 1920s, you may have wondered how someone would go about making liquor at home. After all, who wants to pay out the nose for liquor when they could make something at home to their specifications?
Here’s how to make bourbon whiskey at home:
- Check your state laws.
- Prepare ingredients and materials.
- Prepare your mash.
- Boil and mix the mash.
- Allow the whiskey mixture to ferment.
- Strain the mash out.
- Put the alcohol into the still.
- Shock the vapors.
- Collect the whiskey.
- Barrel age if making bourbon.
Making whiskey is a delicate process, so you need to pay attention and give it some special care. To learn more about this process, you will want to stick around and keep reading.
1. Check Your State Laws
Manufacturing whiskey at home is illegal in most US states and can get you in serious trouble. Not only that but it’s also prohibited on the federal level without proper registration.
While some types of homebrewing with wine, beer, and lighter alcohol are allowed, distilling hard liquor is heavily restricted. Sometimes, even owning a still for personal use is restricted and requires a license.
This isn’t a unique law for the United States, and in fact, most countries also prohibit the distillation of hard liquor without a license. You cannot sell this liquor or brew it without a permit, even for personal use.
You need to get a license from your state and the federal government to distill legally. Every state has different rules about distilling liquor, so you need to check your specific state website.
2. Prepare Ingredients and Materials
Once you’ve got all the paperwork with the government settled, you can start the process of distilling your bourbon.
You need to get the best ingredients possible for the process, which include high-quality grains, water, the still, and other associated tools. You should make sure everything is ready to go before you start working.
Let’s go into detail about each of these supplies.
Grains
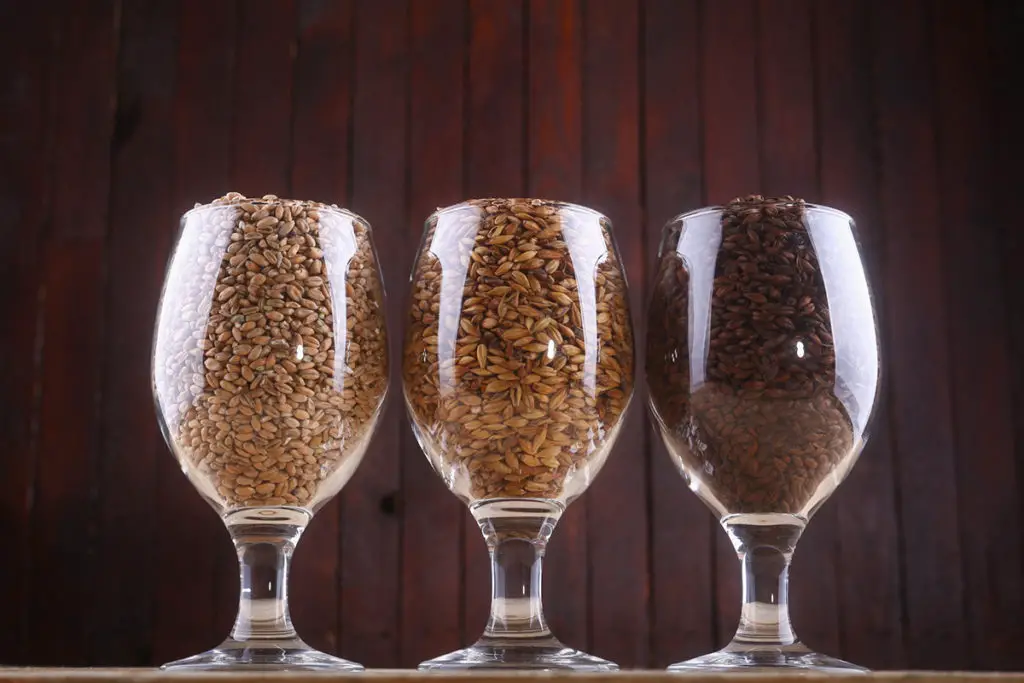
You want high-quality grains to make the highest grade alcohol.

Shaker & Spoon - We bring the bar to you! It's the perfect home happy hour🍸→ Get Your Drink Box
Bourbon has to have at least 51% corn to give it its trademark sweet flavor. You should also include rye and barley to round out the flavors. Play with the ratio to see what makes the best whiskey for your taste.
Water
It’s essential to have high-quality water for the process. The more distilled the water is, the better your final project would be, but don’t use tap water to make liquor. There could be all kinds of bacteria, additives, and other contaminants in the tap water that could impact distillation.
High Quality Still
The most critical part of distilling liquor is to have a high quality still. Stills can be very expensive to own and maintain, but it’s crucial to invest in a good one. They can last a very long time, and if you want to brew regularly, it’s even more important to find a solid one.
As stated above, you need to check with your state laws and verify if stills need to be registered. If so, you’ll need to go through the process before you begin the brewing process.
Other Supplies
You also need:
- Distiller’s yeast
- A thermometer that is safe for food use
- Brewing airlocks
- Cheesecloth
- A corn mill
This is the bare minimum for distilling hard liquor.
Other tools will make your life easier and give you better results overall. These include a bottle sealer and special bottles and jugs for storage and fermentation. Make sure you sanitize all of these before you use them. Boiling water is the best way to sanitize and make sure it’s all ready to go.
3. Prepare Your Mash
Preparing your mash is the next important step. The mash needs to be fine enough that water can quickly get to the enzymes required to make the liquor. Run your grain through the corn mill, which is specifically designed to give you a fine mash texture, so this is the best tool to use.
4. Boil and Mix the Mash
Now that everything is prepared, you can move on to the actual distilling process.
Bring the water to a boil and slowly add the mash to it. The water needs to be warm enough to activate the enzymes, which will make the mixture incredibly sweet. Let the mash combine and sit while you add the distiller’s yeast. Stir thoroughly and put the mash mixture into jugs.
Ideally, you should outfit these jugs with airlocks so you can monitor the distilling process. You can see how far along the process is with airlocks.
5. Allow the Whiskey Mixture To Ferment
You should leave your whiskey mixture to ferment and create the alcohol that you’ll later distill. Don’t leave this for too long, or you might end up with foul-tasting liquor.
The ideal time for fermenting is a week. Anything that has fermented longer will give you an unpleasant flavor and could encourage other bacterial growth. However, some mashes will require more time to ferment depending on the sugar content of the mash at hand.
6. Strain the Mash Out
Straining the mash does two crucial things:
- It removes the chunks and pulp from the whiskey.
- Gives you the best texture in your final liquor.
Cheesecloth and other fine filters work well for this process. You want as little debris as possible to get into the final product. You may also need to strain the mash multiple times to reach perfect clarity.
This is very important, so don’t skimp on this step.
7. Put the Alcohol in the Still
Once the mash has been fully strained, you need to put the alcohol into the still for the rest of the distilling process. This makes something that was relatively weak alcohol into something much more potent.
You should carefully examine your still and make sure that it’s intact and there’s no damage before putting the alcohol into it. Any damage could start leaking high-proof alcohol and create a fire hazard.
Note: This is why distilling whiskey at home is illegal. Making potent liquors can be very dangerous, due to both contamination and fire hazards, you will need to keep careful track of every drop.
8. Shock the Vapors
Shocking the vapors is the central part of distilling a more potent liquor. You have to concentrate the alcohol and reduce it from the original amount you collected from the mash. This process can be tedious, but the longer you let it work, your liquor will be higher proof.
You need to hit the sweet spot with the whiskey where the sweetness has emerged.
Test this by tasting, not drinking your liquor. Drinking liquor that has been brewed for too long or not long enough can be very dangerous, and you could be consuming acetone, which is not good. Pay attention to unpleasant flavors, and don’t swallow.
9. Collect the Whiskey
If you’re only making whiskey, then you can collect the whiskey you made after it hit the sweet spot and start enjoying the fruits of your labor. It isn’t entirely recommended, but you can jump right in after this stage.
Something to note is that you shouldn’t drink the first 100 (3.38 oz) or so milliliters of your whiskey. This can have unpleasant flavors and is best disposed of.
10. Barrel Age If Making Bourbon
Bourbon needs to be barrel-aged to qualify as high-grade liquor. This process gives bourbon its signature flavors and is crucial to making the final product.
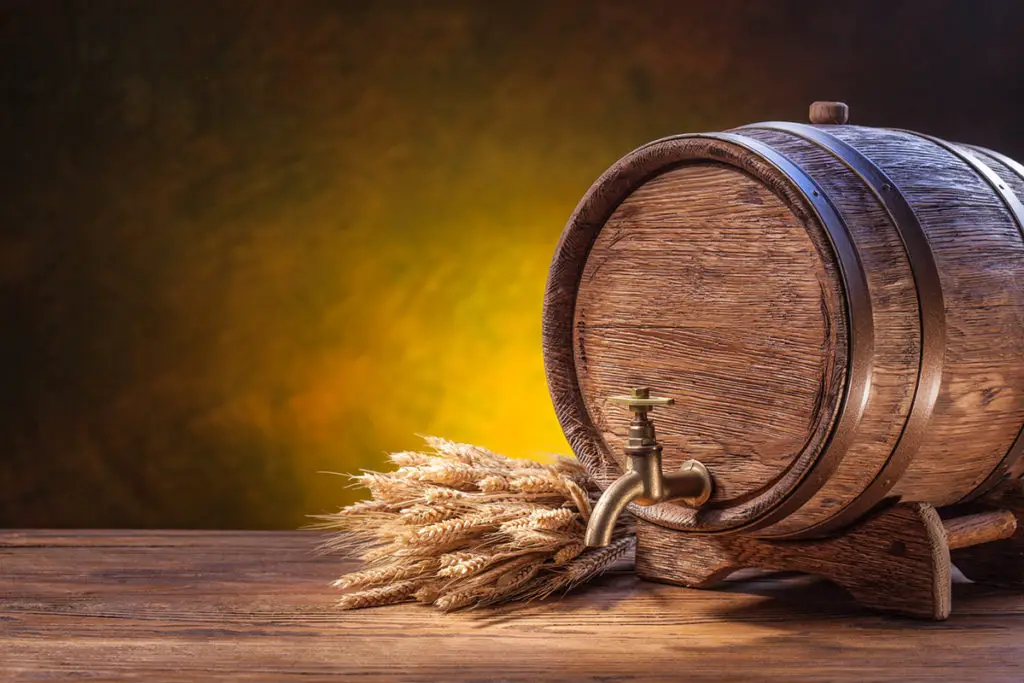
You’ll want to use an oak barrel like this one on Amazon for this step since that will give you the best flavors. Depending on what style of whiskey you want to make, you can pick an aged or a newly-made barrel. Scottish style whiskey uses aged barrels, while American style whiskey uses new barrels.

While whiskey can be consumed without aging, it’s highly recommended, especially if you want a better flavor profile and bring out subtleties in the liquor.
You can even age various whiskeys you bought at a local liquor store to bring out new flavors that they might not have already had. This is entirely legal, and you can dress up a mass-produced whiskey as something a lot more expensive.
Final Thoughts
Brewing Bourbon Whiskey at home is a challenging, dangerous, and heavily regulated industry. You need to get legal approval to distill whiskey and take all the precautions necessary for the process. After that, it’s a delicate process with an enormous payoff.
