Passion for great-tasting beer and wine has encouraged many people to explore the different ways these alcoholic beverages are brewed. However, yeast needs to be pitched correctly during the brewing process to give each alcoholic drink its distinct taste. So, how do you properly pitch yeast for beer, wine, or mead?
Here are some steps to follow to pitch yeast properly:
- Choose between dry or liquid yeast.
- Always have emergency yeast packs.
- Confirm your yeast pitch count.
- Pay attention to temperature when pitching yeast.
This article will explain in detail how you can pitch yeast properly. Read on to learn more.
1. Choose Between Dry or Liquid Yeast
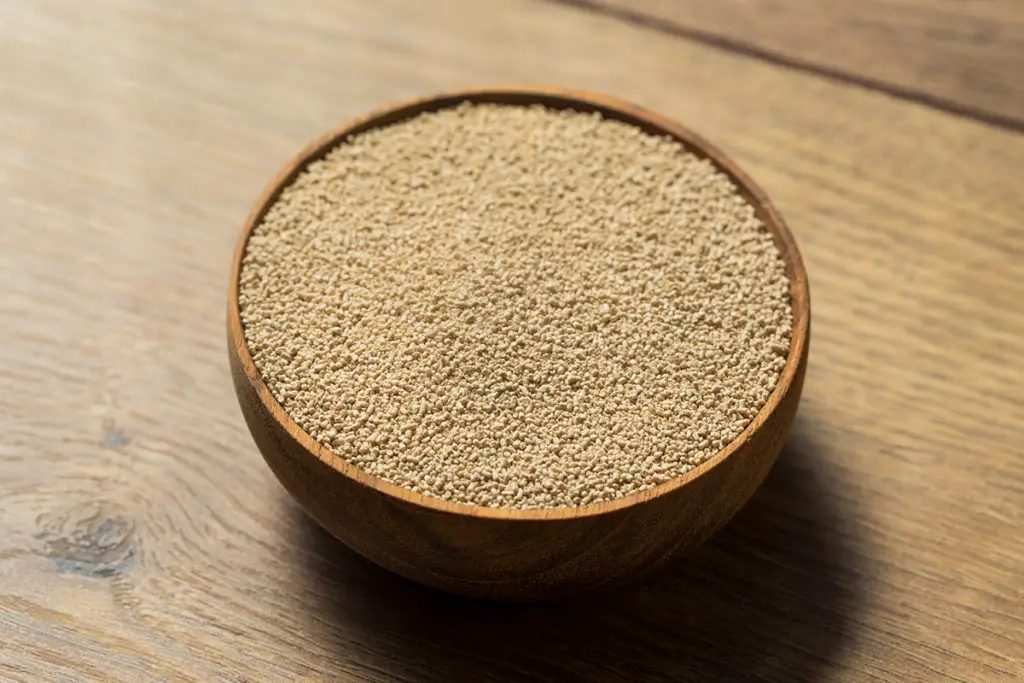
Homebrewers ferment beer by using two different forms of yeast: dry and liquid yeast. The two variations of yeast have different steps that you need to follow when using them for brewing beer.
Dry yeast is more popular with brewing specialists because it’s a cheaper option and has a longer shelf life. It’s also easy to use and withstands very high temperatures during the shipping process. This means your yeast will still be very active when used for pitching.
BEER DROP: Boxes of beer from Award-winning microbreweries → Join The Club
However, dry yeast has a single con: the limited choice of available quantities. It comes in 11g (0.02 lb) sachets, which is standard for 19 liters (5.02 gal) of ale, so producing more brew requires more packets.
When making your alcohol-based drinks, you’ll need to pay particular attention to the number of sachets used per liter.
On the other hand, liquid yeast isn’t as cheap but offers more strains than dry yeast, which can give you a bit more versatility when it comes to the type of beers brewed.
But the other major downside, is that liquid yeast has a shorter shelf life. Also, liquid yeast doesn’t handle high temperatures as well as dry yeast does.
2. Always Have Emergency Yeast Packs
It’s advisable to have extra sachets if you prefer using dry yeast. Your brewing procedure can go wrong, regardless of your pitching proficiency, so having extra sachets will ensure you can restore your mixture.
If the yeast sachets you have left at home are from different brands, you might be wondering if you can mix them. Bear in mind that there are different yeast types, including fresh, active dry, instant, and rapid rise yeast. So when you have yeast sachets from different brands, check to make sure that they are the same type of yeast.
For instance, if the sachet brands you have are both instant yeast or rapid-rise yeast, you are good to go. This is because each type of yeast activates at different points, which can result in varying final products.
If you don’t have a particular kind of yeast that the recipe calls for, you can always substitute it with another available type. You can use fresh yeast (liquid yeast) instead of active dry yeast, but in this case, you would need twice as much (by weight) liquid yeast than dry.
3. Confirm Your Yeast Pitch Count
Pitch counts are usually expressed as a number of cells per milliliter (Cells/milliliter/°Plato). Brewers use this term to confirm the quantity of yeast to pitch based on the starting gravity and wort’s volume.
The generally agreed-upon rate is 1 million cells/ml//°Plato. However, brewers can determine their ideal pitch rates for each unique beer they make. For more accuracy, some brewers plug their numbers into a free online yeast pitch rate calculator, such as the Yeast Pitch Rate and Starter Calculator.
4. Pay Attention to Temperature When Pitching Yeast
Yeast is a living organism. And like any living organism, varying environmental factors, such as extreme temperatures, can kill it.
Several ways that yeast can be stressed during the fermentation process, but avoiding pitching temperature stress is relatively simple.
Temperature matters significantly when pitching yeast. Getting the right temperature is highly important for the best results. For example, pitching your yeast into the mixture after the boil is a bad idea. This is because your wort is too hot and would kill the yeast, resulting in no activation or fermentation.
Conversely, pitching yeast when the temperature is too cold means the yeast will remain inactive, and will not activate, thus resulting in no fermentation. Usually, brewers come prepared with a temperature gauge to help check and keep track of the temperatures.
If you don’t have one, you might need to get a No products found. (Amazon) to avoid wasting time, effort, and money.
The Best Temperatures To Pitch Yeast

Here are the best temperatures to pitch yeast for beer, wine, and mead:
- For Beer: When pitching beer yeast, the best temperature is between 68-72°F (20-22.22°C) for ale and 44-55 °F (6.67-12.78°C) for lager beer.
- For Wine: When pitching wine yeast, one way is to re-hydrate the yeast in a small amount of water where the temperature is between the range of 104 and 109°F (40 and 42.78°C). Let it sit for 15 minutes, then add it to the wine.
- For Mead: A temperature below 80°F (26.67°C) is favorable for the best results when pitching mead. Proper stirring is needed in the production process after adding yeast, so it mixes well.
What You Should Know About Yeast Pitching
Yeast is a kind of fungus that has multiple uses. You’ll often find it in baked goods or alcoholic beverages because of its ability to enhance doughs and liquid mixtures.
But, what exactly does ‘pitching yeast’ mean, and how does it contribute to the brewing process for beer and wine?
What Is Yeast Pitching?
Although pitching is a baseball word, it has a different meaning when brewing alcoholic drinks.
Yeast pitching refers to the process of adding yeast to catalyze fermentation. The technique consists of throwing yeast into a mixture, resembling the same movements as pitching a baseball.
On the other hand, the wine production process begins the fermentation process using grape skin and wild yeast combinations.
Once you have completed the yeast pitching process, the result you get is a full-bodied beer. The yeast pitching process has to be done very carefully to avoid getting the wort contaminated in any way.
There are so many different ways to pitch yeast, and constant debates come up about which method of pitching yeast is best. Some say the Viking method of pitching yeast for mead is best, while others argue that the process doesn’t matter, as long as you get the desired results.
Does the Process of Pitching Yeast Determine Good Beer?
The process of pitching yeast determines good beer. If your yeast is not pitched correctly, the beer can come out tasting sour, flat, or too sugary. Yeast that’s been pitched correctly will give the beverage a full-bodied taste.
It’s more than just tossing yeast into the wort. Pitching yeast needs to be done correctly, at the right time, and under suitable conditions, if you want your brew to taste smooth and flavorful.
How To Pitch Dry Yeast
One way to pitch your dry yeast is by first rehydrating it. Rehydrating helps activate the yeast before you add it to the mixture. You never know; you might have gotten a bad package, so it may need to be tested out.
To hydrate dry yeast before pitching, follow the steps below:
- Get a clean, sanitized container.
- Add a cup (236.59 ml) of boiling water to the container and let it cool to the recommended temperature for the type of drink you are making: wine, mead, or beer.
- Add your sachet of dry yeast to the container of water.
- Stir gently for about 20 seconds.
- Let the mixture sit until you notice a light foam at the surface of the liquid.
Now, you can go ahead to add (pitch) this liquid yeast to the fermenter.
How To Pitch Liquid Yeast
Liquid yeast can be added directly at the recommended temperature, or you can decide to make a starter pack first, which is best for beers. However, many yeast manufacturers formulate liquid yeast so that it can be pitched without a starter pack.
To pitch liquid yeast, follow the steps below:
- Find the inner packet and move it into a corner and smack firmly with your hands to break the inner pack.
- After confirming the inner packet is broken, shake well to release and mix the ingredients properly.
- Leave the package to rest and swell for at least 3-4 hours.
- Sanitize the packet with a sanitizing solution before opening.
- Add into your fermenter at the right temperature.
Fermentation should start to take place in about 24 hours.
Conclusion
Pitching yeast is the process of adding yeast to your homebrew mixture to stimulate fermentation. Without fermentation, your alcoholic mixture won’t develop the desired tastes or alcohol content that you enjoy from beer, wine, or mead.
To pitch your yeast properly, you’ll need to activate the yeast at the right temperature and ensure you’re adding the right amount.