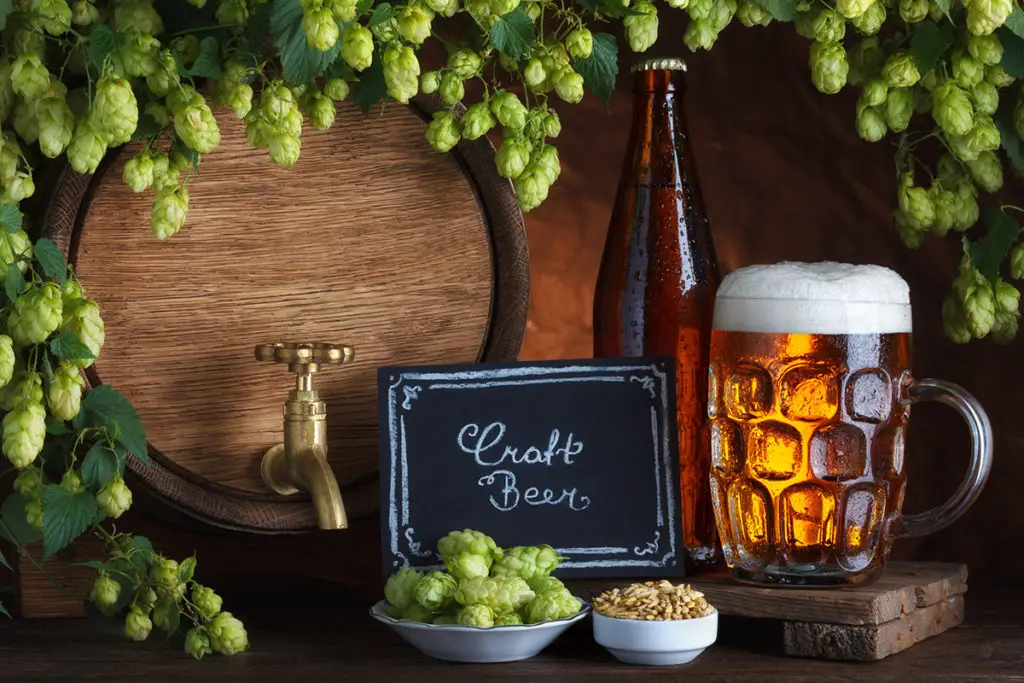
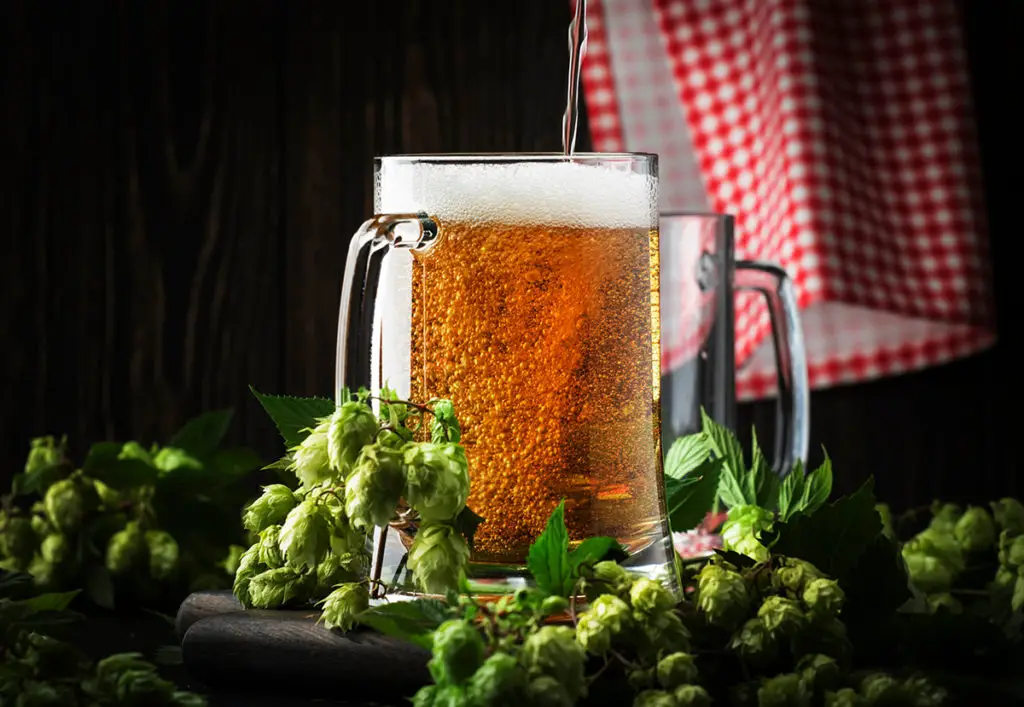
Homebrewing beer is a rewarding and creative hobby, as you can wring infinite possibilities out of your raw materials. However, crafting your own recipes and enjoying the fruits of your labor in the form of a delicious beer is just the tip of the iceberg.
Once you begin home brewing, you can exchange tips and techniques with other brewers, enter competitions, and share your creations with others, but how much of a time commitment is it?
Brewing beer typically takes between 4 and 8 weeks, starting from the raw materials to ready-to-drink beer. The hands-on portion of the brewing process can take as little as a few hours, but the fermentation process will take at least 2 weeks and another 2 weeks of bottle conditioning.
Keep reading to explore the following:
- Brewing process
- How long it takes
- Fermentation and how to speed it up
- What happens after the fermentation
- Equipment necessary for brewing
- Developing recipes
How Long Does Hands-On Brewing Take?
Hands-on brewing takes only a few hours, depending on the recipe and equipment used. Brewing isn’t the most time-consuming part of making your own beer at home.
BEER DROP: Boxes of beer from Award-winning microbreweries → Join The Club
Here’s each step of the process, along with how long it should take:
- Steep the grain. It’s an optional step. You’ll have to warm the water before soaking the grain, which will take around 40 minutes. Once you steep your malt, you’ll have to wait for the grains to release their enzymes, which is around 45 minutes.
- Boil the grain. After you’ve steeped your grain (if you choose to do so), you’ll need to boil it. If you’re following a recipe, it should tell you how long to boil, as it varies depending on the craft beer type. Typically, pilsners have longer boiling times.
- Add Malt and Hops. At this point you’ll add the malt and hops and boil for awhile longer.
- Cool the wort. After boiling your grain, malt, and hops, wait for your wort (the solution of extract made from the grain), to cool. It may take several hours for the wort to cool to the desired temperature, around 75°F (24°C). But if you have a wort chiller, like this No products found. on Amazon, which is durable and multifunctional, you can just spend just a half-hour on this step.
- Add yeast. Adding a powdered or liquid yeast to the brew is the last thing you need to do before the fermentation period, and it should only take half an hour. Transfer your cooled wort from a pot to a fermenter and add yeast.
After this, the last step is fermentation, which lasts at least 2 weeks. You can use a hydrometer to check brew gravity, but other than that, there’s not much that a home-brewer can do during this stage of the process.
Why Does Fermentation Take So Long?
Fermentation takes so long because it is a biological process that cannot be rushed. Primary fermentation involves the wort absorbing oxygen and the yeast growing and multiplying. This process takes 3 to 15 hours after adding the yeast.
After this, the yeast consumes both simple and complex sugars. Like glucose and fructose, simple sugars can be broken down in as little as 1 to 4 days, and complex sugars, like maltotriose, take a bit longer. Brewers can see visible fermentation signs during this period, including foam and bubbles.
Then, the brew reaches its conditioning fermentation phase, lasting from 10 days to 2 months for some beer types. Yeast growth will slow, and extra hydrogen sulfide gas is released from the fermenter. At this point, brewers can add finishing hops if they’d like, and the process is nearly complete.
Can You Speed Up Fermentation?
Using different types of yeast and changing the temperature can speed up the fermentation process slightly but you’ll need to be careful not to overdo it as too warm of a fermenting temperature can ruin the flavor of your beer.
Changing the temperature can make a significant shift in fermentation. Every type of yeast has a certain temperature they work best in. Typically, the cooler the temperature, the slower the yeast ferment, and the warmer the temperature, the faster they ferment.
However, the hotter the fermentation, the more likely you’re going to get unwanted flavors and attributes in your final brew. If you’re looking for a quick turnaround and good taste, ferment in the middle to the high end of your yeast’s range.
You can also try wrapping a blanket, coat, or sweatshirt over the carboy or fermentation chamber to keep it from getting too cool and slowing down the process. (If you live in a cooler climate you can get a No products found. on Amazon to keep the carboy warm enough that the fermentation process doesn’t slow down too much.)
Changing your yeast can speed up the process of fermentation as well. Kveik is a “super yeast” that can ferment a beer at a warmer temperature without getting off-flavors.
Also, brewing specific kinds of beer can change how much time you’ll be waiting on the fermentation process. Lagers and sour beer take a long time to ferment, so forget about those if your main goal is speed. Instead, try brewing a low to moderate ale, as most ale fermentation takes just 2 to 5 days.
Pitching enough yeast can speed up fermentation, especially if you add some yeast nutrients.
Aerating your wort well can also help you get a quicker turnaround. If using oxygen, give your wort a one-minute shot, and if you use air, spend five to ten minutes aerating the wort.
Choosing an appropriate beer style can drastically impact how long the fermentation stage will take. German wheat beers use yeast strains that work fast, and the finished product can be slightly cloudy and still delicious. These beers can be ready to drink in just 4 to 5 days if all goes well. You can also American wheat beers quickly.
Other types of beers, such as English brown ales, dry stouts, and fruit beers, can increase the time needed before the beer can be quaffed.
How Do You Know When Fermentation Is Finished?
Brewing your own beer is exciting, so it may be tempting to try and rush the process and get your beer bottled before it’s finished.
You know when fermentation is finished is when you get a stable-specific gravity reading over 2 to 3 days. Use a hydrometer to do this. The device allows you to measure the levels of sugar in the wort.
What Happens After Fermentation?
What happens after fermentation is that the beer will rest for a few days. Then you’ll bottle or keg your beer. Add some priming sugar (or carbonation tablets if you’re rushing) and store the bottled or kegged beer somewhere dark at room temperature for 2 weeks to allow for secondary fermentation.
During the bottle conditioning phase, the secondary fermentation takes place and the remaining yeast converts the priming sugar into carbon dioxide and adds carbonation to your brew. This step is crucial, as you don’t want to drink flat beer!
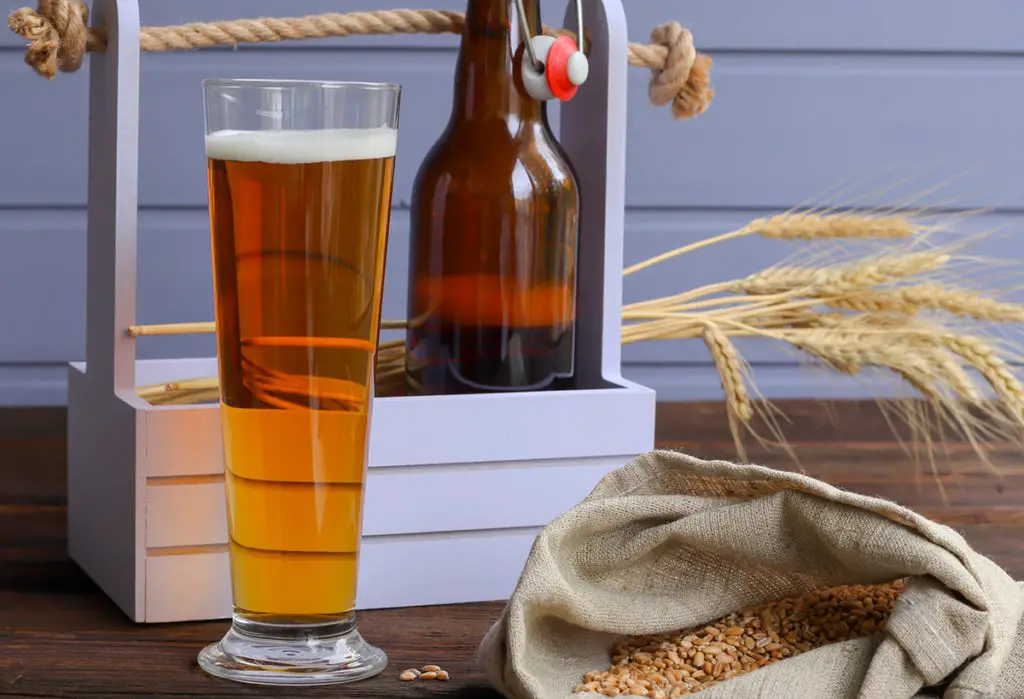
Equipment for Brewing Your Own Beer
Ready to start making your own brews? You’ll need some equipment to get started.
Here’s a list of the essentials and recommendations from Amazon.com:
- A large pot, four gallons or more. This No products found. is perfect and inexpensive. It also features metal handles for easy transport, so you can move it easily once you start your home brewery.
- A plastic bucket with a spigot. You’ll need this for sanitizing and bottling. This No products found. is specifically designed for beer bottling, so it’ll definitely do the trick!
- A fermentation bucket. Try this No products found. with an airlock. The lid on this particular bucket is ultra-secure, and it’s a great size for home brewing.
- Some nylon bags. You’ll need these for adding hops. These No products found. will work. They come with six bags, so if you don’t use them all for brewing, you can use a couple for storage or use when you do laundry.
- Sanitizer. Make sure it’s food grade. You can choose either iodine or acid-based. I like this No products found. . It’s effective and easy to use, as well as environmentally friendly. As a bonus, this sanitizer also doesn’t have the odor that many food-grade sanitizers have.
- A long stirring device. You don’t need anything too fancy. This No products found. is sturdy and durable, so it definitely won’t break as you’re stirring your brew.
- Hydrometer with a jar. You can get this No products found. made specifically for making wine, beer, and kombucha at home. This set comes with a thick and narrow glass test jar, helping you get the best and most accurate readings. Additionally, it comes with a cleaning brush that you can use to keep your equipment clean and sanitary.
- Waterproof thermometer. This No products found. is inexpensive and can also be used for cooking. It also gives you an instant and accurate read.
- Bottles and beer bottle caps. Once you’ve brewed your beer, you’ll need somewhere to put it! Make your life easier by getting a bottling kit, like this No products found.. This kit is used with high-quality ingredients and has an elegant design, so not only will your friends be wowed by your brew, but they’ll be impressed with the presentation, too!
What Homebrew Recipes Should You Use?
You should use classic or new recipes that have already been tested by brewers all over the world and can be found in recipe books and online, or you can use these recipes as inspiration to develop your own.
You can find homebrew recipes for all kinds of beers online and in recipe books, like No products found. and No products found., both available on Amazon.com.
The Brew Your Own recipe book includes both classic and newer recipes searchable by style. When reading The Ultimate Guide to Homebrewing, you’ll find recipes that use unique ingredients and features on the brewers who came up with the recipes.
However, if you’re feeling creative and want to make a beer that’s unique to you, you can develop your own recipe.
One way to do this is to start with a recipe from a book, website, or kit and make adjustments as you see fit. Use the Beer Judge Certification Program style guidelines to determine what ingredients and proportions to use.
In addition to ingredients and proportions, consider original gravity, bitterness, and color. Original gravity range indicates how much malt you need, bitterness determines the number of hops and boil times, and the color determines how much dark malt is in the recipe.
Some important things to remember when developing your own homebrew beer recipe:
- Maintain a balance between base malts and specialty grains. Increasing malts can change the starting gravity of your beer and drastically alter the flavor.
- Account for the sugar in any fruit you may add. You can also freeze any fruit you add to a recipe to break down the cell walls in the fruit.
- Don’t go crazy with spices. Experimenting with spices is a fun way to get new flavors, but these flavors can easily overpower the brew.
- Take notes. If you made a particularly good beer (or particularly bad), make sure that you note what you did and adjust your techniques in future brews accordingly.
Homebrewing, like any skill, is a trial-and-error process. When you’re building your own recipes, start simple and get more experimental with time.
Conclusion
Brewing your own beer is going to take considerable time and effort, but all the best things in life do! If you want a delicious homemade beer, you’re going to have to work for it and wait four to eight weeks. However, that’ll make the first sip of your finished beer even more gratifying!