Growing hops can be a demanding task because they’re typically fleshy underground stem plants that require some level of specialized care to cultivate them properly. They’re typically planted sometime in early spring or during the summer periods as the underground rhizomes require a balance of rain and sunshine to grow properly.
The right time to harvest hops is about 120 days after germination, which typically occurs in August or September. You can tell if hops are ready by checking if they’re dry and sticky, looking for thick yellow sap and a grassy-onion smell, and squeezing to make sure the hop doesn’t stay compressed.
Although flowers indicate maturity, it should be noted that this doesn’t make them ripe for harvesting; the dry nature of the cones will determine that. If you happen to own your very own hop farm, either for personal homebrewed beers or for commercial purposes, then you might want to keep reading to learn just how and when to harvest your hops perfectly.
How To Know When Hops Are Ripe for Harvest
After planting, followed by a few months of watering, weeding, pruning, and other cultivation practices, you begin to count the days till you can reap the fruits of your labor, literally. But it would be best if you took care not to get too excited and make the unfortunate mistake of harvesting too early, which would put your entire efforts to waste.
Generally, the best time to harvest hops in most climates is in late summer (i.e. late August or early September), but the exact harvest timing will depend on the specific condition of the hop.
A maturing hop plant is one thing, but a plant ripe for harvest needs a little extra time to dry out before it can be picked off its bines. A hop grower will need to be patient to end up with the best hops.
BEER DROP: Boxes of beer from Award-winning microbreweries → Join The Club
Picking hop cones too early is a worse mistake than picking too late because early cones still have a higher moisture content that will impact the quality of the hops as they’ll begin to rot soon after being detached from the bines. This is known as harvesting a – wet hop.
On the other hand, Harvesting too late will leave you with a dry hops cone with dried hop tips and a juicy interior that’ll also begin to rot if left on the hop bines indefinitely. So knowing the perfect time to pick is equally as important as growing the hops in the first place.
It’s also important to note that if these are first-year hops, you shouldn’t expect a lot of harvests as the first growing season is used to establish the plant’s root system, seeing as it’s a perennial plant. The second season will produce a better harvest, with the third season having a maximum yield.
Here are some steps to check if the cones are ripe enough for harvest:
- Squeeze a cone softly, and if the cone feels dry and springs back to its original size, it’s ripe enough for harvest. But if it stays compressed, then it shouldn’t be harvested.
- If the cones are dry and sticky when you hold them on the palm of your hands, then they’re ripe enough for harvest.
- If a sticky thick yellow sap comes out of the cones, they’re ripe enough to be picked. Also, if the cones give off a grassy-onion smell, then they’re perfect for harvesting.
- Ensuring to check for all these telltale signs in the cones is paramount if you’re to harvest a batch of hops of great quality and usable quantity.
Watch the video below to see exactly when to harvest hops.
Methods of Harvesting Hops
Generally, harvesting hops is a relatively simple task, but it also requires a certain level of precision and technical know-how to ensure that you get the best out of your harvest.
You might be thinking all you need to do is cut out the hop cones and be done with it, but in reality, there are two methods of harvesting hop cones:
Harvesting by Hand or by Picking Cones Individually
Harvesting by hand is recommended for first-year hop plants because at this stage, the plant itself is still too young to be cut down completely. Instead, hop cones are picked out from each bine taking special care to note the ripe cones from the maturing ones.
This method ensures that the plant remains viable with its underground parts still supplying nutrients to the plant until the next season when they will be seasoned enough to produce more hops.
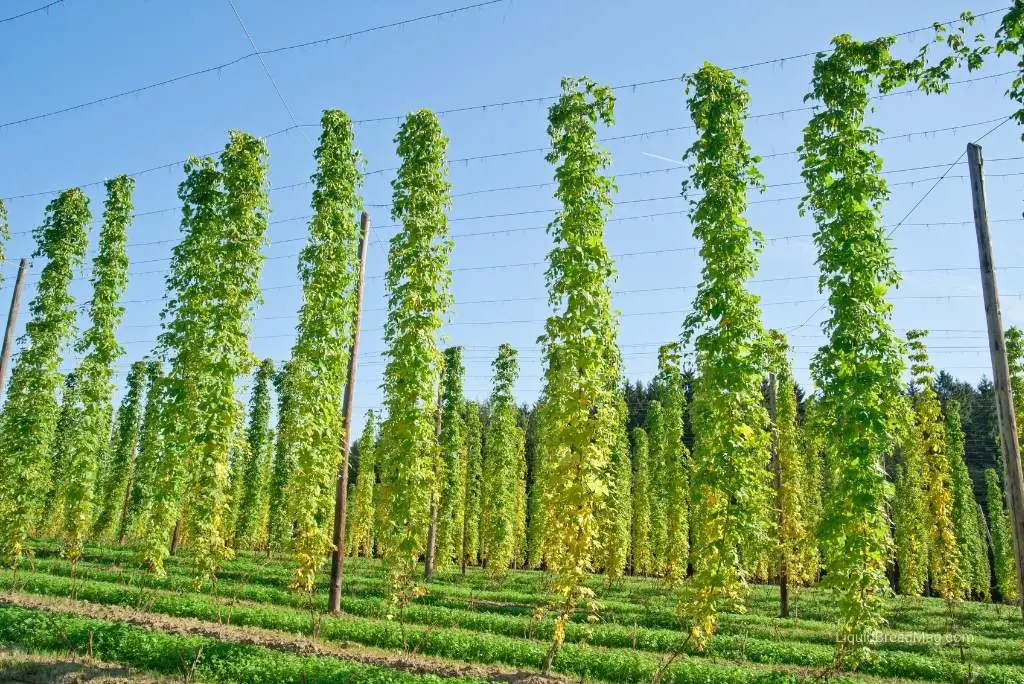
While this method may sound straightforward, it can be pretty strenuous as hop vines can grow to as much as 30 feet in height, proving difficult to reach top bines without using a mechanical bucket truck or a tall fruit picking ladder.
Another challenge to harvesting by hand is the contact with the hop vines and cones, which have tiny spikes that can cause rashes or cuts to the skin if not handled with care. So be sure to wear suitable gloves that are abrasive resistant and durable enough to last through the whole harvesting process and may also be used in the next season.
Harvesting by Cutting Down Bines
The second method of harvesting is the easiest and most common as it’s used when the vines are at least 2 to 3 seasons old. At this stage, the underground root systems are well established and can easily grow out again if the top vines are cut off.
It’s done by simply cutting down each hop vine system to bring the long out-of-reach cones to ground level. At this point, the cones can just be picked right off the vines from the ground without bothering to use ladders or even abandoning cones simply because they are too tall to reach.
Cutting the vines at about 3 feet (0.91 m) above the ground is the best practice, after which the vine can be pulled off its support structure straight onto the ground.
Drying Hops After Harvesting
After hop harvest, you can either use them immediately for brewing or for whatever purpose you might have grown them. Or you can dry them to be used at a later date or sold off commercially.
You can either dry hops in a dark ventilated room for a few days making sure to turn them over ever so often, or make use of an oven, making sure not to let the temperature exceed 60°C (140°F).
After drying, you can put the hops in a sealable bag making sure to seal out as much air as possible, and then store them in a freezer to be used at any time.
The Role of Hops in Beer
For most beer drinkers, good beer is generally about the bitter taste, the lasting flavor, and the foamy feel, but not many drinkers know what’s in their favorite brand of beer.
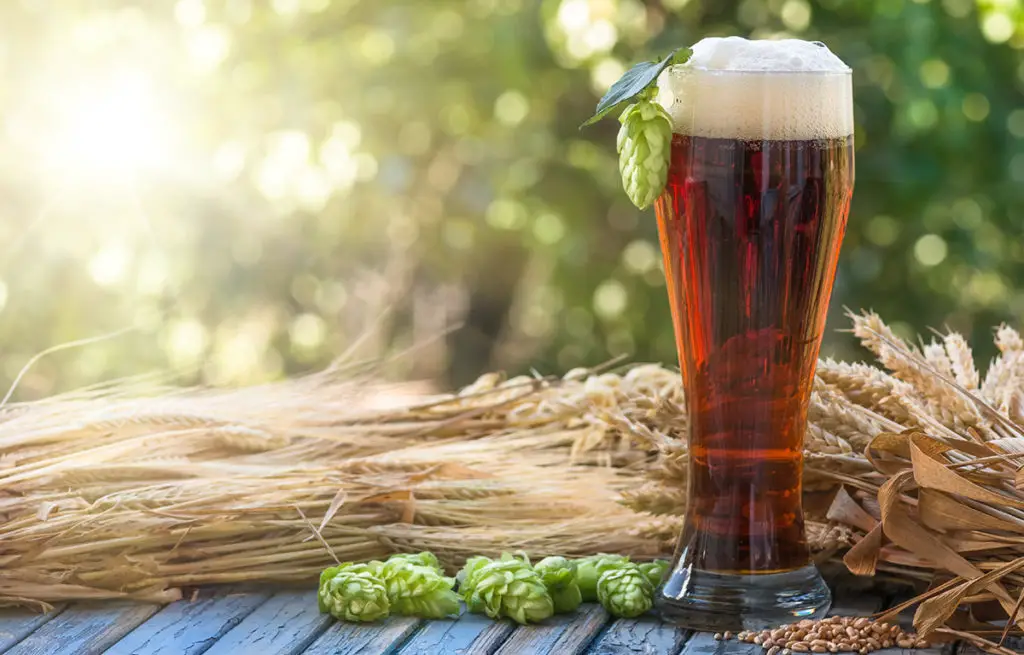
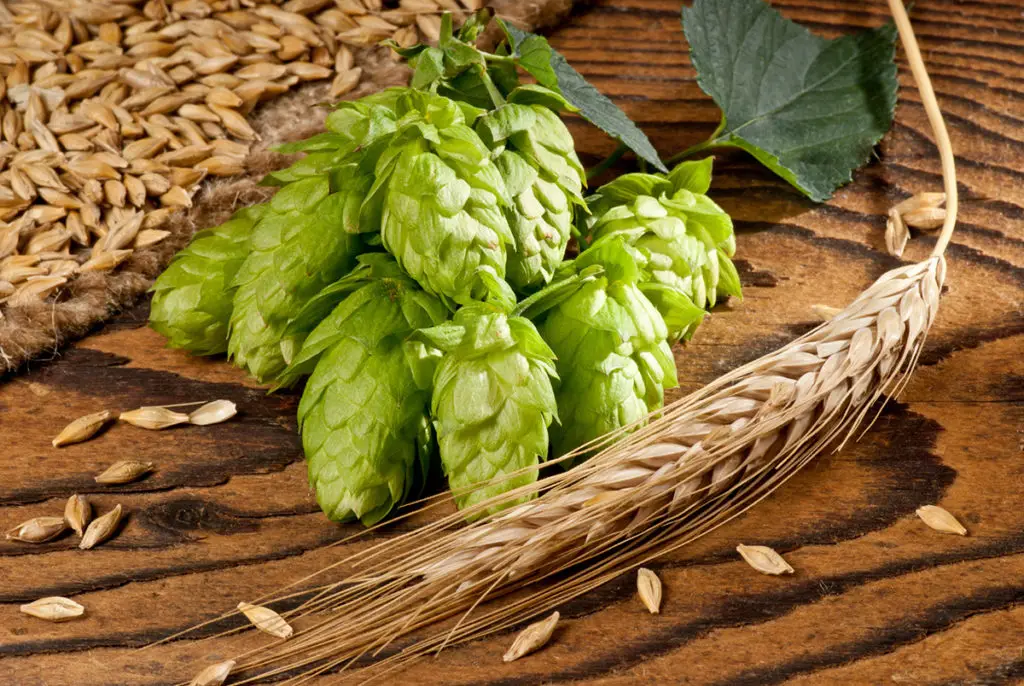
While there are about three main ingredients common to all beers, namely water malt, and yeast, what you probably don’t know, however, is that there’s a fourth common ingredient known as hops.
Hops are cones with flowers on a plant called Humulus lupulus. Catchy, we know! Fresh hops are essential in craft beer brewing as they play a vital role in the aroma of the beer and its flavor.
The plant also helps maintain the characteristic foamy nature of every beer and is added during the brewing process to get specific flavors and bitterness.
Another significant contribution of the hop plant to breweries and brewers is that it plays a part in the intoxicating effect caused by drinking one too many beers, and here’s why. The hop plant happens to belong to the Cannabinaceae family of plants, including marijuana and Indian hemp. These plants are grown worldwide as their application in breweries is of great economic importance.
Conclusion
Hop farming can be pretty easy if you put your mind to it, and it doesn’t matter if you’re planting for personal brewing reasons or on a commercial scale; you can follow these steps to harvest the best hops you can get.
So the next time you drink your favorite brand of beer, remember that someone put in a lot of work to get the best hops so that you can have the best taste beer can have.