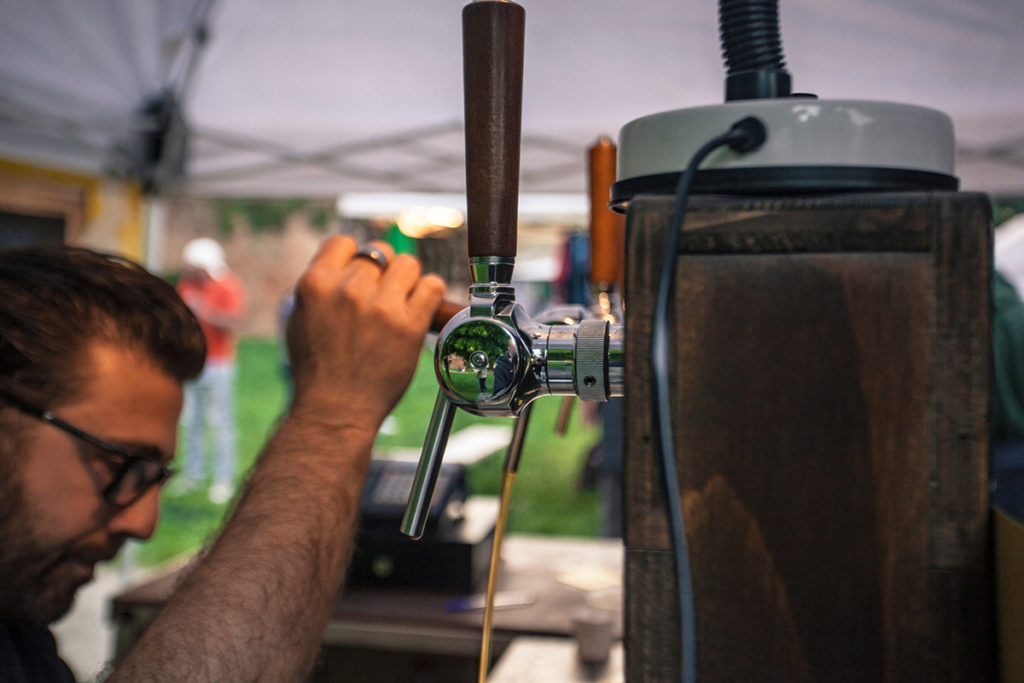
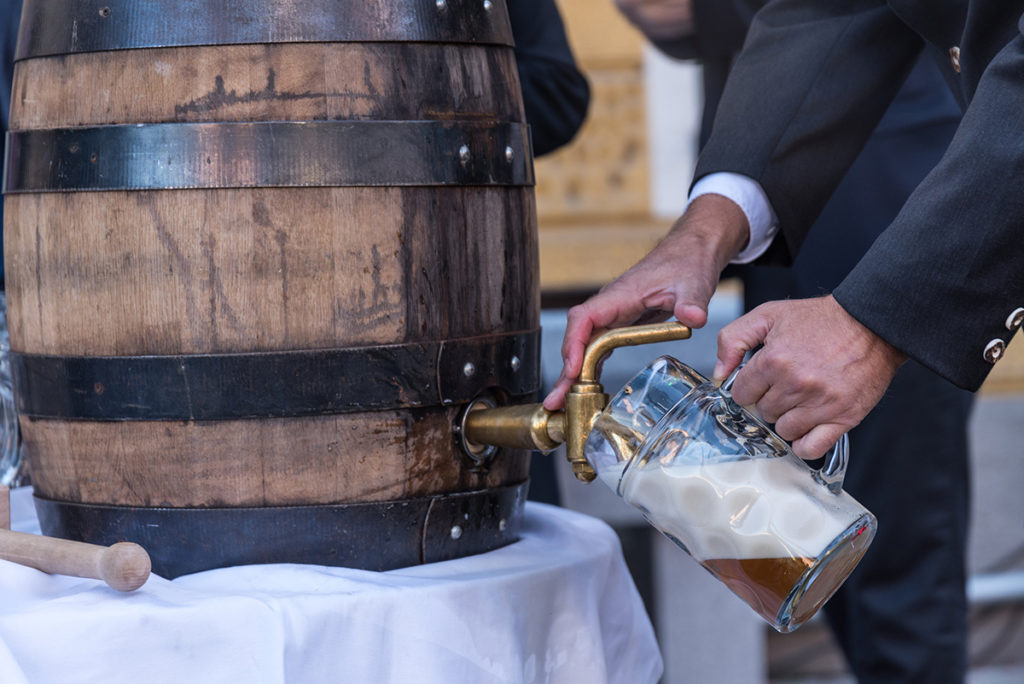
It used to be that kegs had stoppers you could quickly release with gravity and air. But nowadays, you need to insert a coupler into the steel keg valve — a process known as tapping.
Here are 7 easy steps to tapping a keg:
- Identify the keg’s coupler system.
- Ice the keg.
- Open the tap system.
- Turn the pump handle on.
- Tap the keg.
- Pump and pour the ale.
- Untap the keg.
This article will walk you through these seven steps so that you can tap a keg like a pro. Let’s get right into it!
1. Identify the Keg’s Coupler System
The coupler is a small piece that connects the gas and alcohol line to your keg. It’s where the pressurized gas — either nitrogen or carbon dioxide — travels when you tap the keg.

BEER DROP: Boxes of beer from Award-winning microbreweries → Join The Club
Although keg couplers look alike, there’s a lot of types in the market:
- A coupler
- D coupler, the most common type found in American beer kegs
- G coupler
- M coupler
- S coupler, which is seen in European ale imports
- U coupler
If you need some help identifying your coupler, check out this handy reference by KegWorks. It has images of different types of couplers and a list of ales and their accompanying couplers.
You need to identify the coupler you have to tap your keg correctly. That said, your supplier should be able to guide you — and give you the tools you need to tap your keg.
2. Ice the Keg
Contrary to popular beliefs, you shouldn’t merely chill the bottom third of the keg. It’s best to ice the entire keg itself.
For one, this will allow you to pour a perfect head. As is the case for most American macro brews, they taste best at 35°F or 1.7°C.
Icing the keg will also help you get rid of white, frothy foam. Warm beer holds more carbon dioxide. Once it hits the glass or mug, the gas will be released, leading to froth and foam.
Place it in a big garbage bag or bucket with ice to properly ice your keg. Stuff the sides with more ice until it’s tightly packed.
Let your keg chill for at least two hours. However, some recommend that you do it for four to five hours. If you want to be 100% sure that your ale is cold, you can ice it a day before the event.
Likewise, remember to ice your tap and beer line at least an hour before you get started. The same rule applies for this — froth will come up if cold beer hits a warm tap and beer line.
You don’t want to overdo the icing of the beer line, though, for you might end up freezing it. No beer will come out of the keg if this is the case.
You can also check out our article 11 ways to keep your keg cold for more ideas on icing your beer keg.
3. Open the Keg Tap System
Get rid of any cardboard or plastic on the keg tap fixture.
See that the pump handle is off by making sure that it’s directed up. If not, beer will end up spurting on your face once you tap the keg.
Next, line the coupler lugs with the appropriate openings on the valve.
Apply downward pressure, then turn the tap system clockwise. Make sure it’s open and NOT slanted.
Turn it as much as you can, preferably until it turns to 90 degrees.
Don’t go any further, as doing so will compress the rubber and lead to wear-and-tear.
4. Turn the Pump Handle On
Push the pump handle down to turn it on. This will enable the gas to enter the keg while letting the beer flow out.
Remember to check the seating as you do so. If you see bubbles around the connection, that means the seating is not correct.
Should that be the case, you’ll have to return the pump handle to the off position (up). Disconnect it first before trying again.
Practice makes perfect!
5. Tap the Keg
If you tapped a new, full keg, you don’t have to pump content for a little while. There’s enough pressure within the keg to make the beer seep out.

All you need to do is push the valve down and pour the contents into your glass or mug.
If you want to slow down the flow, you can always place the tap and glass above your head.
Don’t panic if the first few pints produce nothing but foam. It’s normal. It’s up to you if you want to throw it away or set it aside.
Once you’ve poured a few more frothless pints, you can use the pump to build pressure and get more beer.
When pumping the keg, go slow and steady. Too much pressure will build up in the keg and lead to more unpleasant foam.
However, under-pumping your keg will also bring the same results, ironic as it may seem. This will cause the carbon dioxide to break out and separate, leading to more foam.
6. Pump and Pour the Ale
Make sure that someone is at the other end, holding their glass at a 45-degree angle. It’s good to have the spigot directed toward the glass as well.
As the glass fills up, ask the person to turn their glass vertically. This should prevent excess alcohol from spilling.
If you’re on the pumping end of the keg, make sure to do a few pumps whenever you see more foam coming out.
Ideally, 10-15 seconds of pump work should give you an inch of foam for every glassful.
It’s crucial that the glass or mug you use is clean before pouring ale into it. Oils from greasy food or lipstick will lead to flat, headless beer. The head might form, but it’ll disappear quickly.
If the flow from the keg remains inconsistent, check the area between the faucet and the keg. Look for:
- A bad seal
- Kink
- Warm spot
- Soil deposit
- Pinhole
Likewise, you need to check for a crimp in the line. This often happens when the keg accidentally sits on the hose.
7. Untap the Keg
Once you’re done with the keg contents, it would be good to untap it.
First, close the gas valve to prevent carbon dioxide from flowing out of the coupler.
Disengage the handle by lifting it outwards before it goes up. Turn the tap counter-clockwise to fully “untap” it.
How to Tap a Keg (Video)
Check out the video below to see all the steps above in action:
