The time has come to try home brewing! This can be a hugely rewarding experience and you will be joining a long line of people who have brewed beer at home for centuries. But, do not be intimidated by this task!
Although people have been brewing beer at home for millennia, the fundamental process has stayed remarkably similar, if not the same.
Unbelievably, there are signs on ancient Chinese artifacts that suggest home brewing of wine and beer may have begun as early as 7,000BC. During those early days, grapes, honey, and rice were fermented to produce beverages.
BEER DROP: Boxes of beer from Award-winning microbreweries → Join The Club
As time continued, brewing became a great way for people to enjoy their favorite drinks without having to spend more money.
There are so many reasons to begin brewing beer at home. Firstly, it will save you a huge amount of money in the long run. You can also produce beer that is specific to your tastes so you can enjoy your favorite beverage every time.
Home brewing has evolved and expanded since those early times and there are now exciting opportunities for beer fans who want to invent from their homes. The rise of boutique craft breweries has inspired many of us to try new tastes and styles. This has led many to try and replicate these drinks in their own kitchens.
And now you’re joining the party! Congratulations! To help you get started, we have an in-depth guide below on how to brew the most delicious beer from the confines of your very own home.
Why brew from home?
If you’re thinking of home brewing but still a little uncertain if it is the right route for you, there are some factors to consider first.
One of the main attractions of brewing beer from your kitchen or garage is to create, explore, and have fun. The creative process of homebrewing is hugely enjoyable. Yes, you will make mistakes at first but you get to learn from these experiences.
Mistakes are crucial as they can make you a better brewer. Some beers you make may not be up to your standard but, with practice and patience, you could be producing some of the best beers you have ever tasted very soon.
Just ask yourself – Am I a beer lover? If someone is a food lover, they learn to cook. So, why should it be any different for beer enthusiasts?
When you start making your own beer, you will be surprised by how much you learn about it in just the first week. The same goes for brewing wine. One week of homebrewing is worth more than years of learning.
Learning any new skill is invaluable and joyful. Learning to brew beer teaches you invaluable lessons about the little details of the brewing process. You will soon understand the importance of yeast strains, for example.
Different yeast strains can make a significant difference to your final product but, without making the beer yourself, you may never know the significance of this.
Homebrewing allows you to learn about the science of beer fermentation. You will enter a new world of understanding your favorite drink and you will never look at beer in the same light again. From now on, your view on beer making and drinking will only become more positive.
How to homebrew beer
We hope we have sold home brewing to you. If so, you have chosen the perfect opportunity to do so. It has never been easier to produce your own beer and we are here to ensure you know exactly what to do along the way.
What you will need
We recommend starting off with an All-Grain Starter Kit (Amazon) These kits provide brewers with the necessary raw ingredient recipes that have been used for so long.
If you would prefer to find the equipment yourself, then here is a list of what you will require:
- An extra-large pot. This should ideally be aluminum or stainless steel as well as BPA chemical-free. It should also possess a wide mouth. Some refer to this as the “brew pot.”
- One or two bottling buckets. This is to assist you when bottling the beer. We recommend plastic buckets.
- A funnel. This is to safely move the beer from one source to another.
- An elasticated top that fits over the pot rim while you brew. This is to allow the carbon dioxide that is produced during the fermentation process to escape as well as prevent any airborne chemicals from entering the beer.
- A few new or recycled beer bottles. We suggest using 12 x 330ml bottles.
- Your particular ingredients (we will look at these further down).
- Bottle caps. Try to have 12 or more.
- A capper to seal the bottles shut.
We also recommend using a brew bag to hold your ingredients in, a measuring cup to know the exact amounts of ingredients you are using, a large spoon for stirring your mixture, and a large strainer.
Ingredients
The ingredients which you will use depend on the type of beer you want to make and the flavor you desire. While you can experiment with a mixture of different ingredients, here are the basic ones you will need:
- Sugar.
- Crushed malted grains – You can also use malted grains, liquid extract, or dried malt extract. Even when you brew with malt extract, using small amounts of specialty grains can help boost your beer’s flavor, aroma, color, and body. Only buy your ingredients from a well-known brewing store so that you know they’ve been stored correctly and are still fresh. Grains must be milled or crushed for brewing beer. This can be done at home if you have a grain mill or another method that can crush grains very finely. It is also possible to do this at a homebrew store. Crushed grains need to be used as soon as possible. On the other hand, uncrushed grains can store well for up to four months or so.
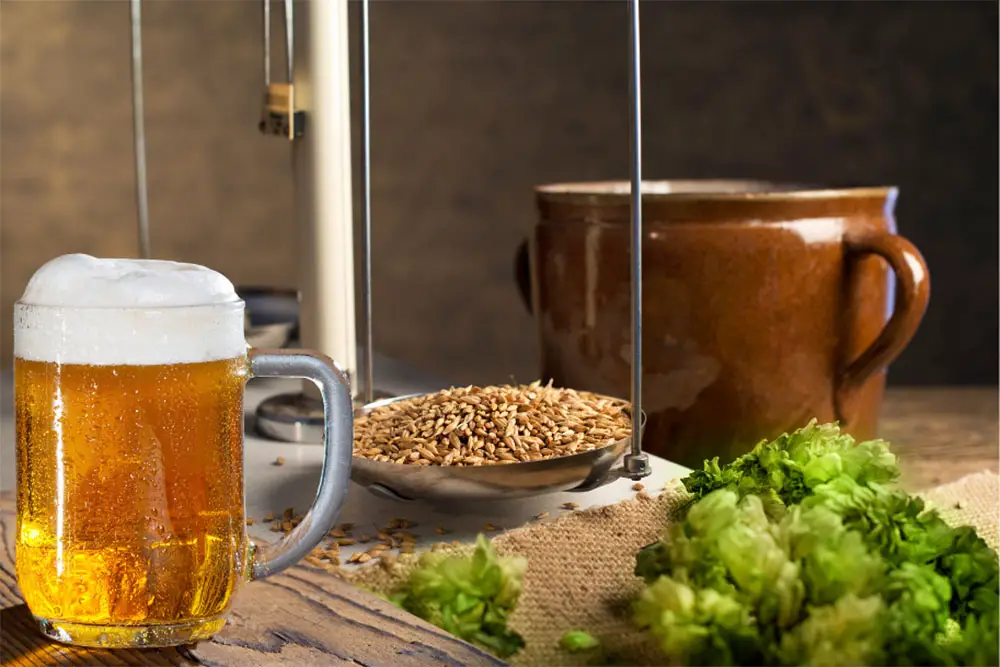
- Hops – Ideally, these should be pellets or whole flower hops known as leaf hops. Hops are flowers (or cones) of the Humulus lupulus plant. Hope cones are found in female plants and contain alpha acids that can determine the hop’s bitterness. If the alpha acid percentage is higher, the hop will be more bitter. When you come to boiling the hops, this should last about 60 or more minutes. This is because the alpha resins inside the hops are not readily soluble when in water. Therefore, they must be boiled for at least an hour to release any unpleasant bitterness. It is worth noting that the acid percentage in hops can vary every year and with different varieties of hops. The region in which they are grown can also affect this acid percentage. This is why we recommend keeping records of your brewing in order to replicate your most successful brews time and time again. You can refer to the package in which your hops came to get the most accurate alpha acid percentage. Hops are also added toward the end of the boil. This is to release an aroma and fragrance into the beer. Remember, a lot of what we perceive as taste actually comes from our smell. Hops added in the boil are known as bittering hops while hops added toward the end are referred to as aromatic or finishing hops.
- Malt extracts – If you use malt extracts, it is a great way of making beer and making the whole process more enjoyable, especially for novice brewers. Extracts can produce incredible results whether you’re an experienced brewer or a newbie. Thankfully, the quality of malt extracts has significantly improved in recent years. Many brewers now depend on these extracts to get their desired results. Malt extract is available in a liquid form (LME) or a dry form (DME). However, which one you choose can affect how much of it is required in your given recipe. There is a simple calculation that you can take advantage of to determine what type of original gravity you can expect from either an LME or DME. In other words, you can measure the fermentable sugars within your unfermented beer (wort). In general, 1-pound of LME will produce 1.044 original gravity if it is dissolved in 1 gallon of water. 1-pound of DME will produce 1.037 original gravity when it is dissolved in the same amount of water (1 gallon). We suggest using these calculations to determine how many pounds of either LME or DME you need when achieving origins gravity. This is if you are not using a pre-measured recipe kit. If you have one of these at your disposal, the levels should all be calculated for you already.
- Brewing yeast. For beginner brewers, we believe dry yeast is the easiest to use. Amazingly, people were making homebrew for thousands of years before anyone knew that yeast played an essential part during the fermentation process. There is no doubt that yeast and the type of yeast used are vital to beer making. Yeast, a single-celled fungus consumes malt sugars and produces the actual alcohol as well as CO2. As with malt extract, brewer’s yeast comes in a liquid or dry form. Dried yeast was once frowned upon as having a poorer quality. Many believed it didn’t add too much to beer. However, times have changed. In modern times, different varieties of dried yeast are made specifically for many different beers. There are numerous advantages and disadvantages when using either dried or liquid yeast. Firstly, dried yeast has a longer shelf life and usually requires little preparation. Liquid yeast, on the other hand, comes in many more varieties compared to dry yeast but its shelf life is considerably shorter. It also requires more care when being handled and prepared. But, both types of yeast can help you produce the best quality beer you have been striving for.
- Water – You won’t make much beer without water! The quality of water that you use to brew is very important. This is because beer is more than 90% water. Water used for beer should be clean and free of any odors such as chlorine (we can’t imagine chlorine beer taking off, to be honest). You need to consider the pH value and the hardness or minerality of the water. Good quality brewing water should be quite hard with low to moderate alkalinity. However, there are always methods to help adjust your water’s chemistry if needed. But, in general, many homebrewers make perfectly acceptable beer with regular tap water.
As well as the ingredients, we highly recommend using the correct sanitizing products. It is hugely important that the right bacteria stays in the pot while you brew and the wrong bacteria stays out.
Basic steps
There are six main steps to home brewing beer and you will be happy to know that they are pretty simple.
Let’s take a look at them below:
- Clean your equipment – It is vital that you sterilize all of the equipment that you will be using in the beer-making process.
- Heat your water – Begin by heating around 2.5 gallons of water in your brew pot.
- Mash your grains and water together – Tie a knot on one end of the grain bag but leave enough room so the grains can be loose inside the bag. Place the bag in the water and slowly raise the temperature to 150 to 160 degrees Fahrenheit (65.5 to 71.1 degrees Celsius). You should let your grains steep at this temperature for around 20 minutes. Then, remove the grain bag from your pot. Do not squeeze the bag. Just allow the liquid to drain from the bag into the brew pot.
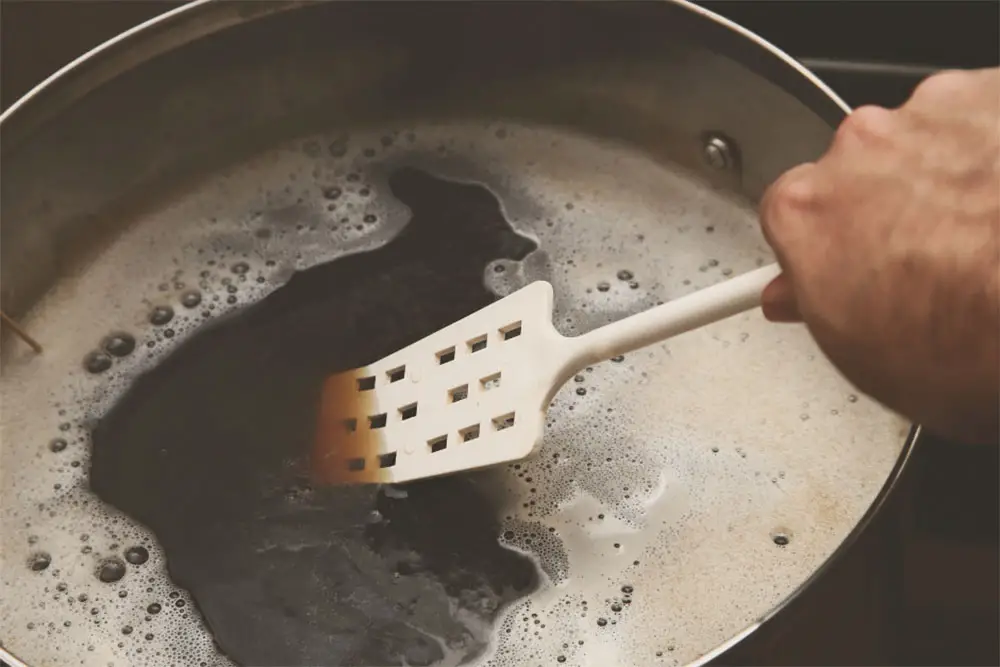
- Boil – Remove all of the grains before boiling the sugar water. This is called wort at this point. Do this for an hour, adding hops at certain points. Stir the wort until the malt extract has entirely dissolved. If any dissolved extract is left behind, it will sit at the bottom of the put and burn. Therefore, you need to make sure you have stirred it thoroughly before you return the wort to a boil.
- Cool down – Let your wort chill. Once you have boiled your wort for 60 minutes, it needs to cool down to below 100 degrees Fahrenheit. This should be done as quickly as possible. A wort chiller is generally the best way to achieve this. This is a great time to sanitize your equipment if you haven’t done so already. At this point, your wort is full of microbes but you do not want any of these uninvited guests entering your beer. Absolutely anything that comes into contact with the wort must be sanitary.
- Transfer your wort to the fermenter – Siphon the cooled down wort into your fermentation vessel and top it off with cold water. This should be enough to fill five gallons. You will also need to aerate the wort at this point. This can be done by using a diffusion stone or by rocking the fermenter back and forth after the lid is firmly in place.
- Pitch the yeast – During fermentation, the yeast will consume malt sugars. The result from this will be alcohol and CO2. The wort should have been cooled to around 78 degrees Fahrenheit before pitching the yeast. Nevertheless, you should always follow the guidelines as outlined on the yeast package. Once you have pitched the yeast, simply seal the fermenter securely tight, attach a sanitized airlock and stopper, and then fill the airlock with water.
- Ferment – Add yeast and leave it to ferment for 10 to 14 days. Patience is key here!
- Carbonate – Add in your brewer’s sugar and then transfer your new beer into bottles.
- The best part! DRINK! – After waiting ANOTHER two weeks (we told you to be patient), you can place the bottles in your refrigerator to chill.
The next step is to enjoy!
In Summary
Homebrewing beer is not as hard as you may think. Once you have the right pieces of equipment and know the process, you can start making the tastiest beer you have ever encountered for half the price you would buy in the stores.
